How to Troubleshoot 3 Common Epoxy Resin Mistakes
Every contractor first starting out knows the struggle. You’ve mixed the epoxy , poured it perfectly, and stepped back to admire your work only to find bubbles, uneven patches, or a rogue spill. Don’t panic! At X treme Polishing Systems (XPS) , we’ve seen it all, and we’re here to help you solve some of the most common epoxy resin problems you might run into on the job site.
Whether you’re a DIY enthusiast tackling your first garage floor or a professional contractor refining your skills, these quick fixes will rescue your project and save you time, money, and frustration.
3 Easy Fixes for the Most Common Epoxy Resin Problems
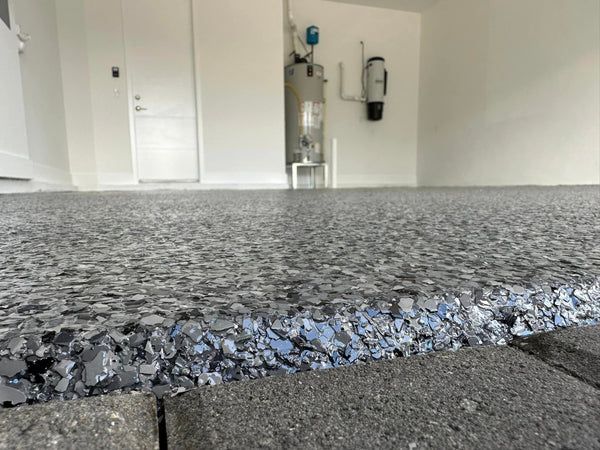
Fixing Bubbles in Epoxy: Pop, Don’t Panic
Bubbles are the most common epoxy headache, but they’re easy to fix if you act fast. They're a natural complication that results from a process called outgassing . They're also generally caused by improper surface preparation or trapped air in concrete. But even in the best of circumstances, bubbles are often an inevitable part of any epoxy resin installation. Here's how to solve them:
Tools You’ll Need :
- Heat gun or propane torch
- Pin or needle
- Spiked roller
Best Ways to Pop/Prevent Bubbles :
- Keep a Clean & Well-Prepared Floor: The best way to prevent the majority of bubbles from appearing is proper surface preparation & floor cleaning.
- Catch Bubbles Early : Check for bubbles 10–15 minutes after pouring.
- Heat Gently : Pass the heat gun/torch 6–8 inches above the surface to pop bubbles.
- Prick Stubborn Bubbles
: Use a sterilized pin for larger bubbles, then smooth gently with a squeegee or a spiked roller.
-
- Check for bubbles early enough that any popped bubbles will naturally settle back into their smooth, natural state. Catching bubbles too late may result in a tougher, tackier epoxy resin you'll have to wrangle back into shape.
Fixing Uneven or Lumpy Coats
Uneven epoxy isn’t just an eyesore—it’s a tripping & labor hazard. Surface preparation & careful installation is the easiest way to ensure your epoxy resin floor finishes smooth and even. If your epoxy is already cured and dried , it's not hopeless! Here’s how to smooth things out, even on a finished floor:
Tools You’ll Need :
- Grinder
- Dust vacuum
- Sanding paper/pads
- Matching epoxy resin
- (OPTIONAL) Self-leveling concrete
Steps :
- Surface Preparation: If you want to prevent having to deal with the steps after this, surface preparation is where your effort should be focused.
-
- Don't use the acid etching, stick to the traditional mechanical surface preparation .
- If your foundation is uneven to start, consider using self-leveling concrete or grinding your floor depending on what your problem areas are.
- Always start with as clean of a floor as possible.
- Let It Cure : Wait 24–48 hours for the epoxy to harden.
- Sand the Surface : Use gentle, circular motions to level lumps out.
- Clean Thoroughly : Vacuum dust and wipe with denatured alcohol.
- Recoat : Apply a thin, fresh layer of epoxy to match.
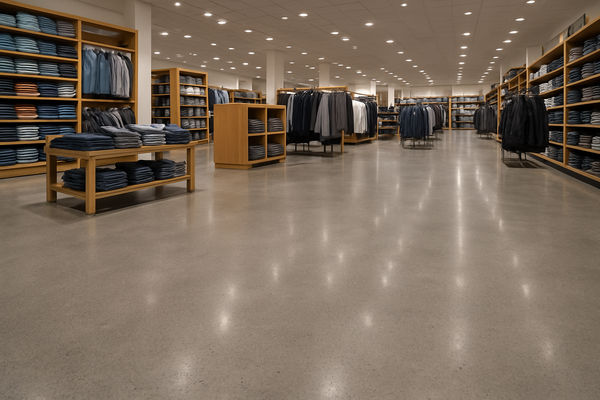
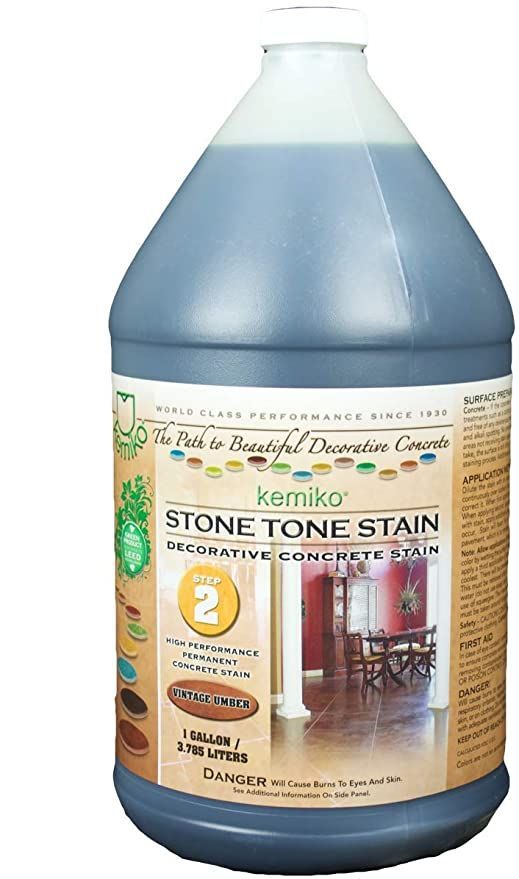
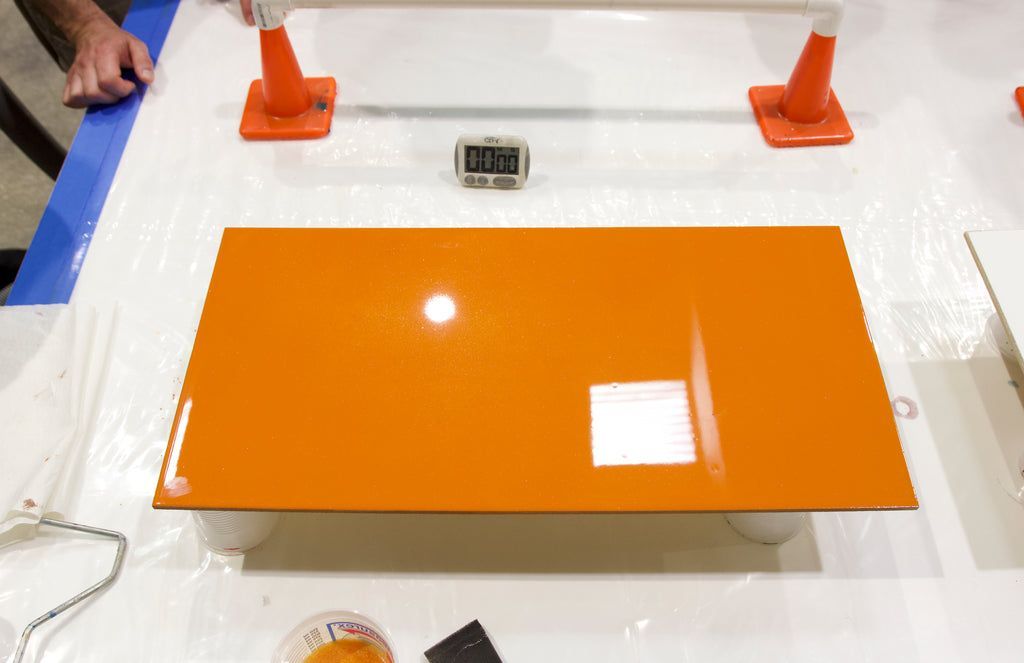
Preventing Yellowing Epoxy Resin
Anyone who's owned a traditional epoxy resin floor for a long enough time knows its one true kryptonite: UV rays . Over time, sunlight can turn your glossy floor or countertop to a yellow hue. Here’s how to outsmart the sun and keep your epoxy crystal clear:
Tools You’ll Need :
- UV-resistant topcoat (e.g., XPS Rockhard Krystal Klear)
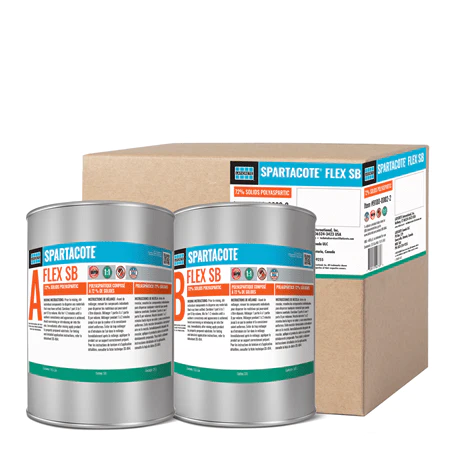
- Polyaspartic resin (e.g., XPS Rockhard Polyaspartic Kit )
- Window films or blinds (for indoor projects)
3 Tactics to Block the Yellow :
-
Smart Placement :
-
One reason why epoxy resin has become so popular in garages is that it's a naturally shaded space in your home, so UV exposure is very limited.
-
Use UV-blocking window films to reduce indoor exposure.
-
-
Upgrade to UV-Resistant Topcoats :
-
Apply 2-3 layers of a UV-resistant topcoat after the epoxy cures. Reapplication may be necessary over time, ask our team to figure out the best long-term plan for your floors' protection.
-
-
Switch to Polyaspartic Resin :
-
For outdoor projects (decks, patios), use polyaspartic resin instead of traditional epoxy. It’s inherently UV-stable and resists yellowing several times longer.
-
Pro Tips to Avoid Future Fails
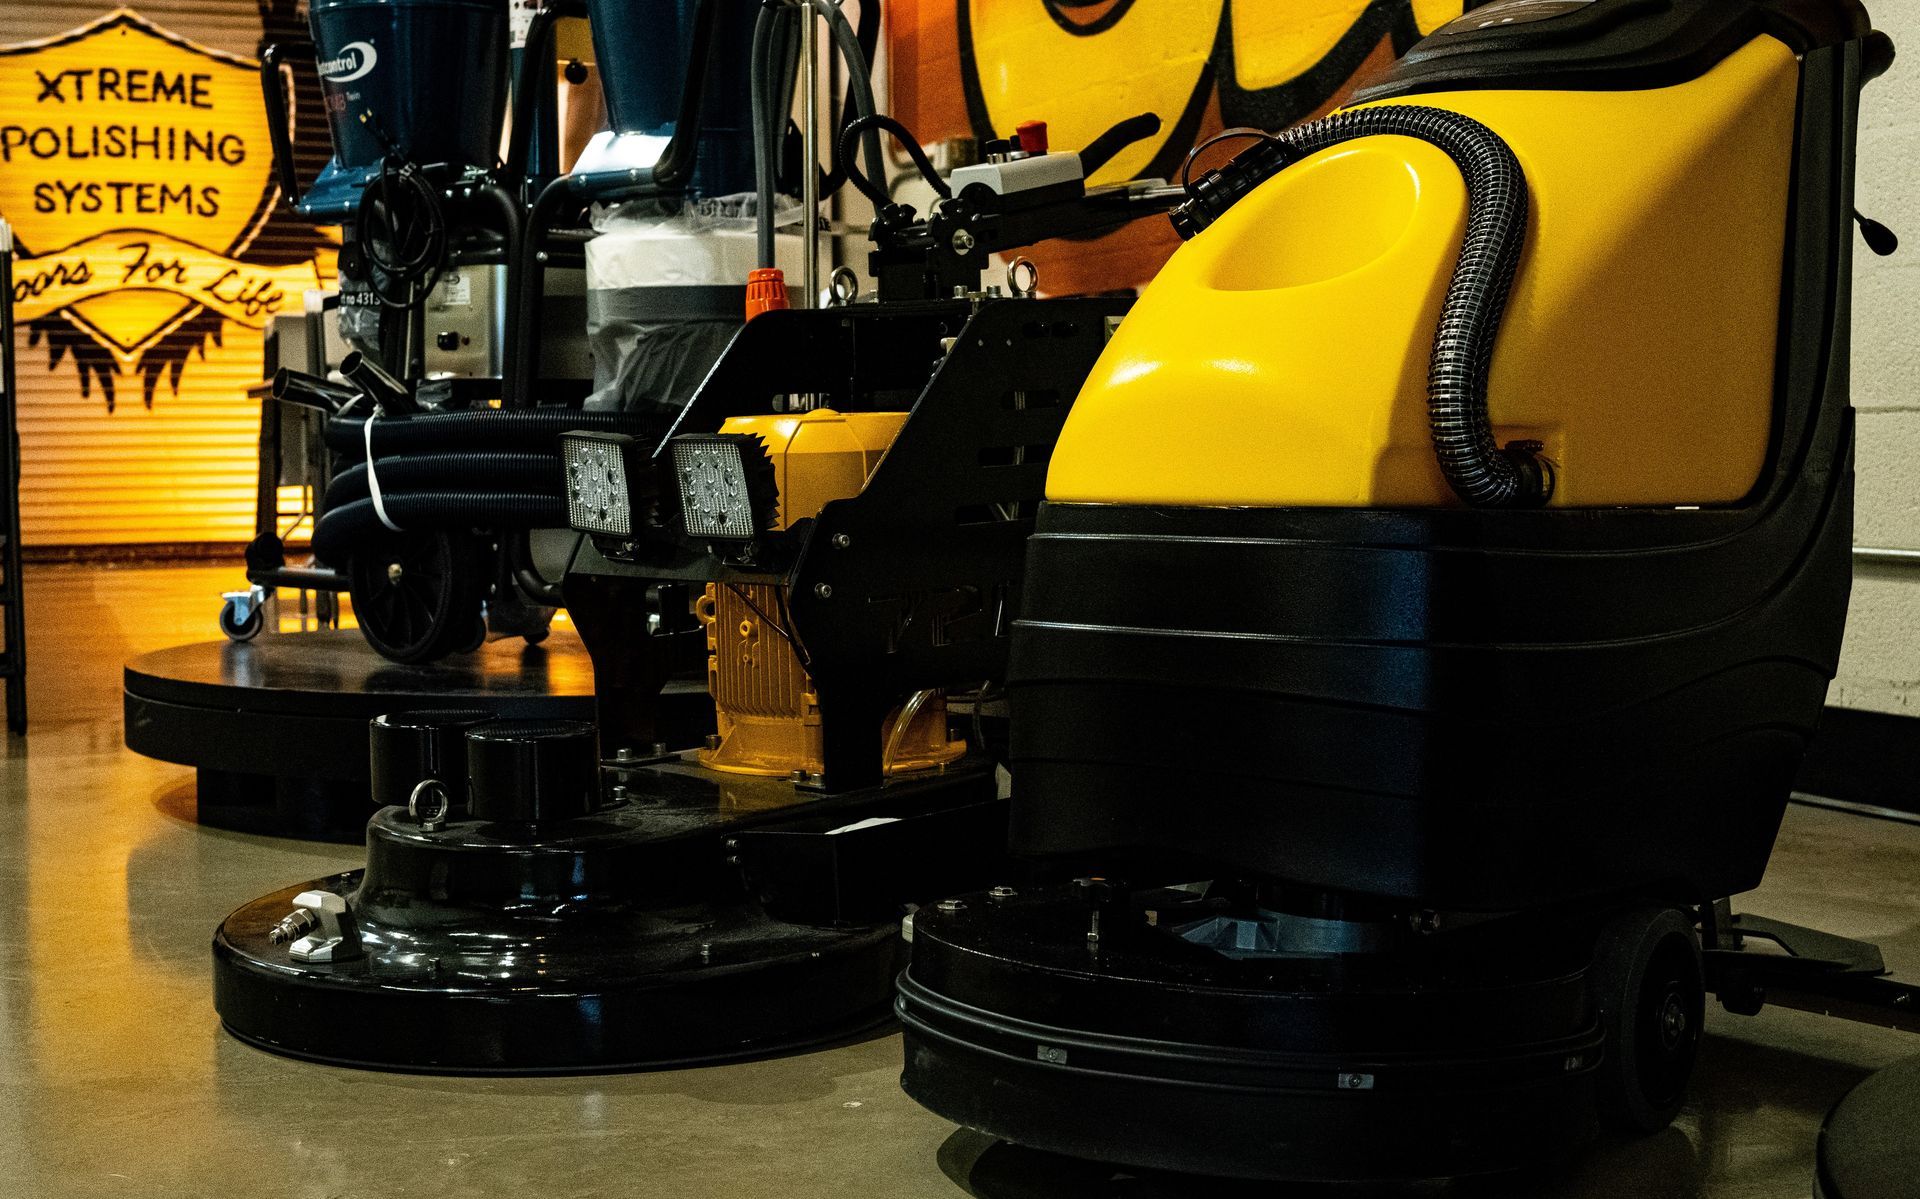
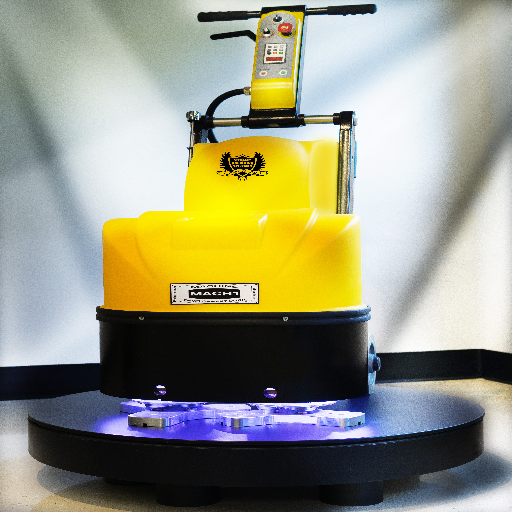
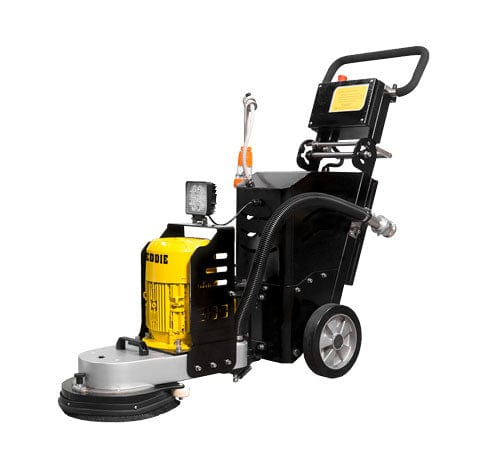
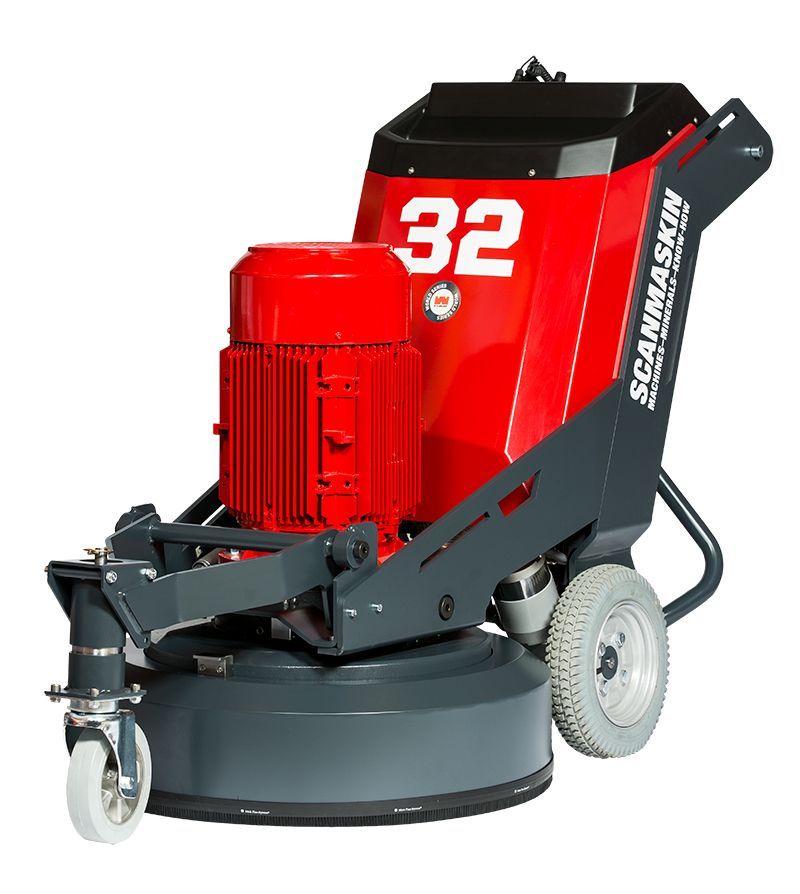
- Prep Like a Pro : Clean and grind surfaces with a XPS Concrete Genie for better adhesion.
- Mix Thoroughly : Follow the 2:1 resin/hardener ratio and stir for 3–5 minutes. Check your resin's manufacturer's instructions in case they may differ slightly from the norm.
- Control Temperature : Work in 70–80°F (or otherwise stated ideal working temperature) environments to prevent curing issues.
Conclusion
Epoxy mishaps don’t have to mean starting over. Some of the most common issues you may run into with epoxy resin are also some of the easiest to fix! With the right tools and these quick fixes, you can salvage your project—and learn to avoid these obstacles the next time.
Xtreme Polishing Systems (XPS) is the culmination of many collective years of contractor experience. Talk to our trained technicians over at (877) 958-5264 if you need any guidance on product or project. Look at our online store for access to the best materials at the best prices on the market.
You might also like